Read my blog posts by email
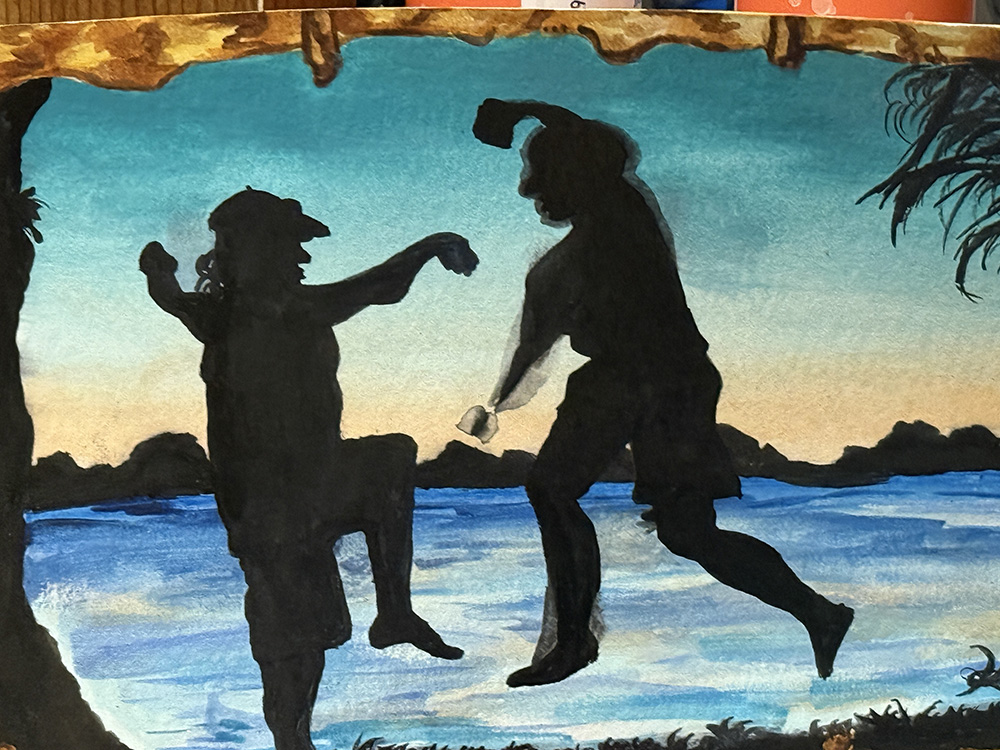
Painting and photograph of Ron Leidich and Tony Wu in Palau
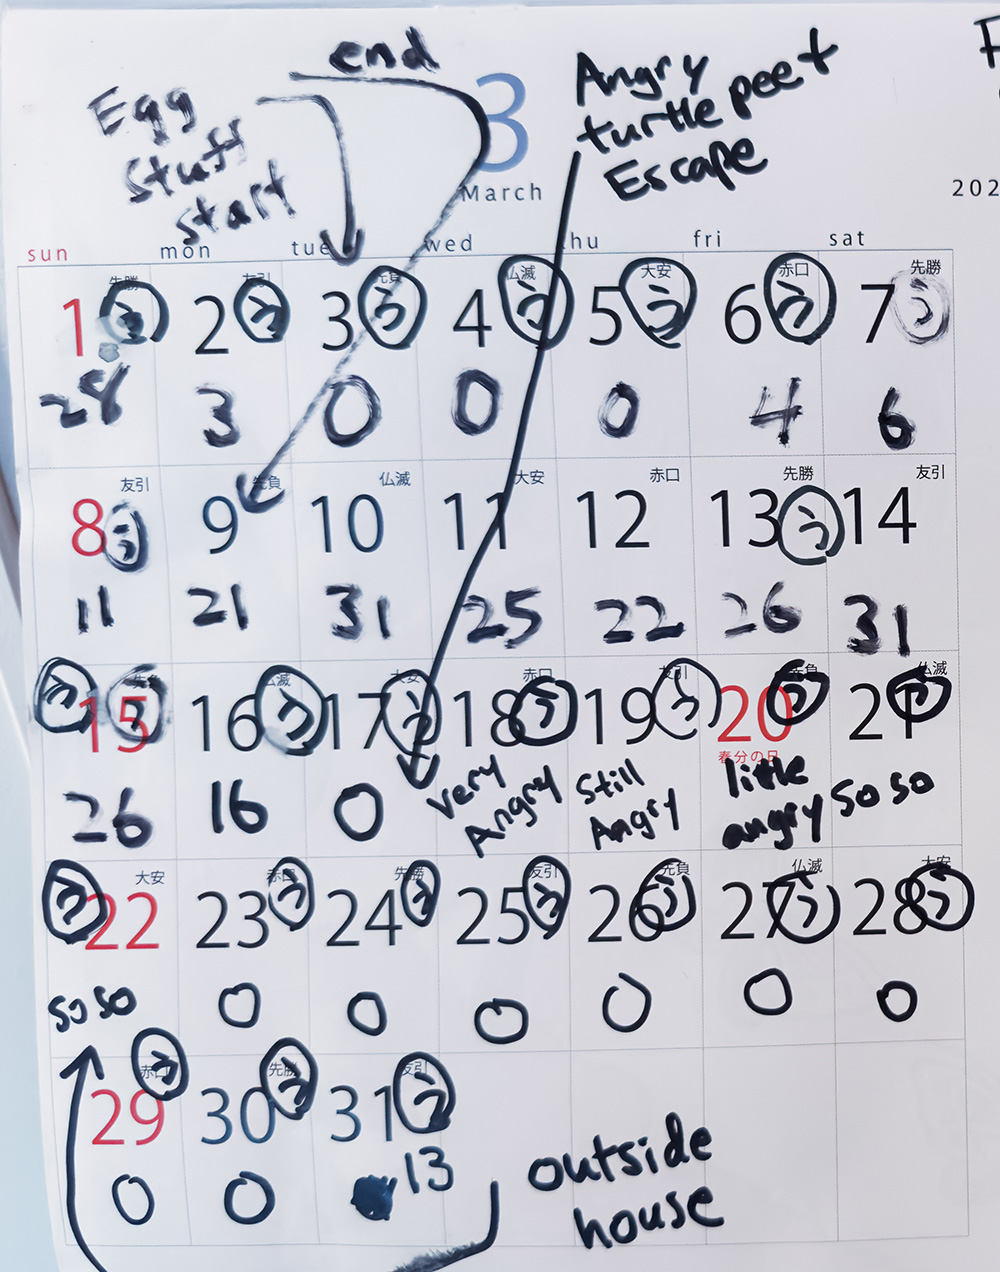
Oogway the pond turtle turns eight years old
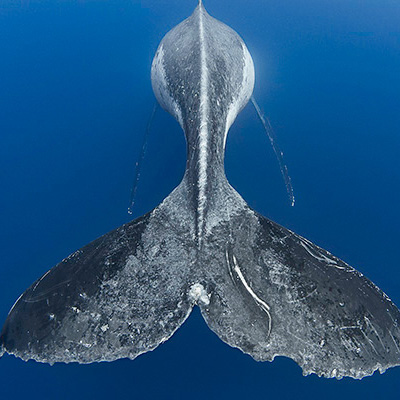
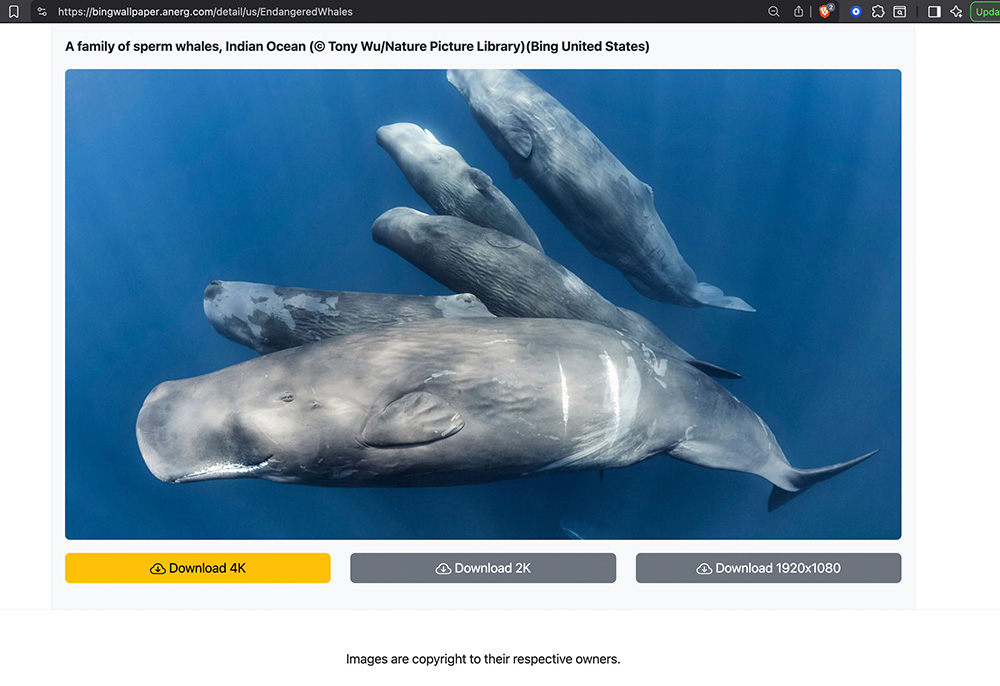
Microsoft Bing Wallpaper of the day, one of my photos of a sperm whale social unit
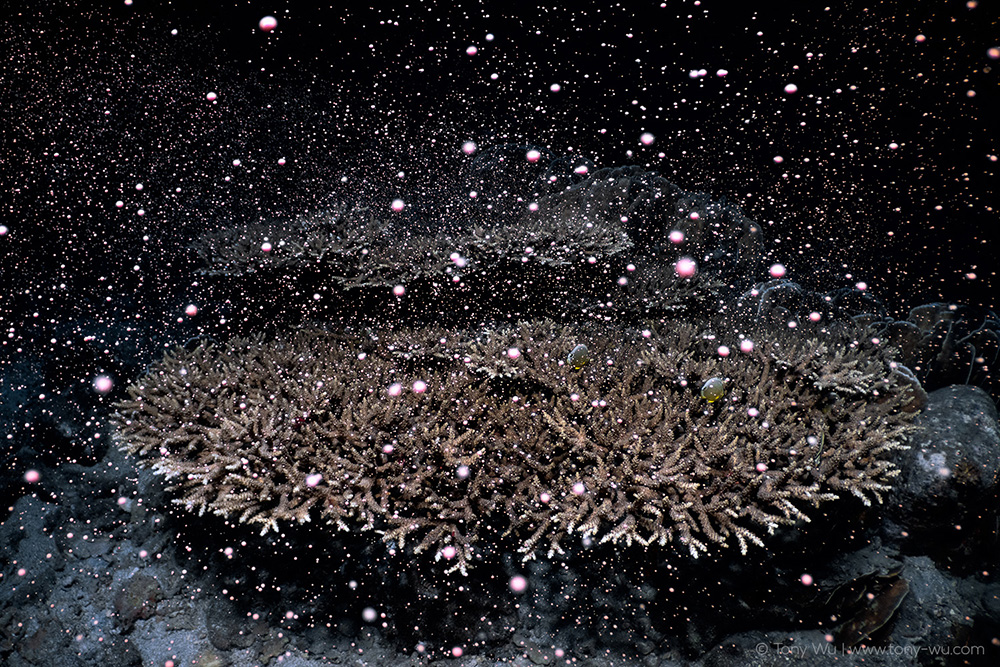
Acropora sp. coral spawning with pink bundles, southern Japan