Read my blog posts by email
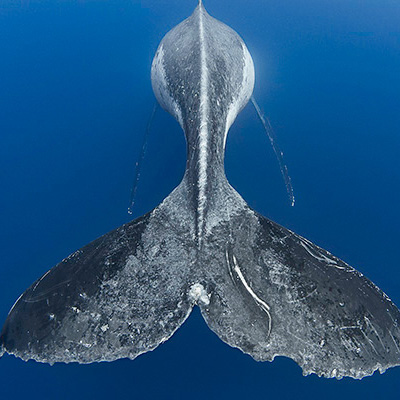
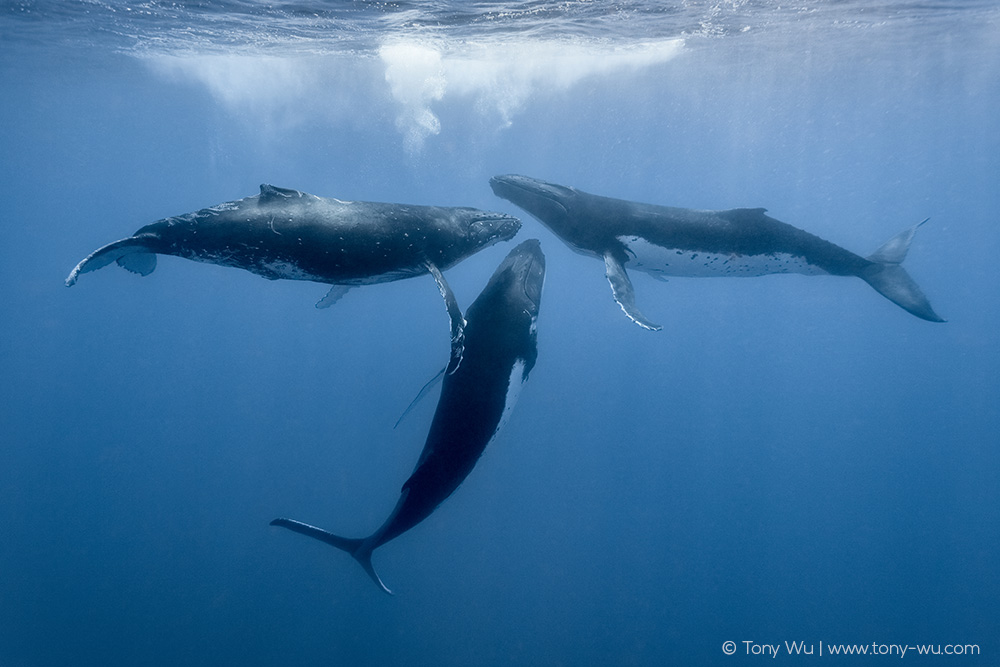
Photographs suggestive of homosexual behavior among humpback whales
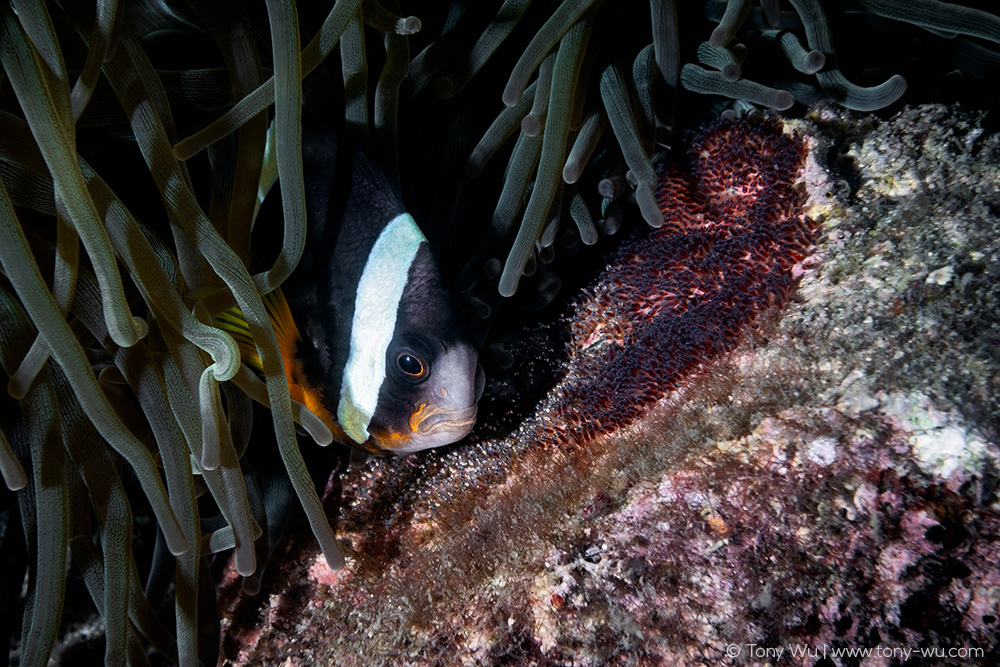
Amphiprion clarkii anemonefish tending to two sets of eggs at different stages of development
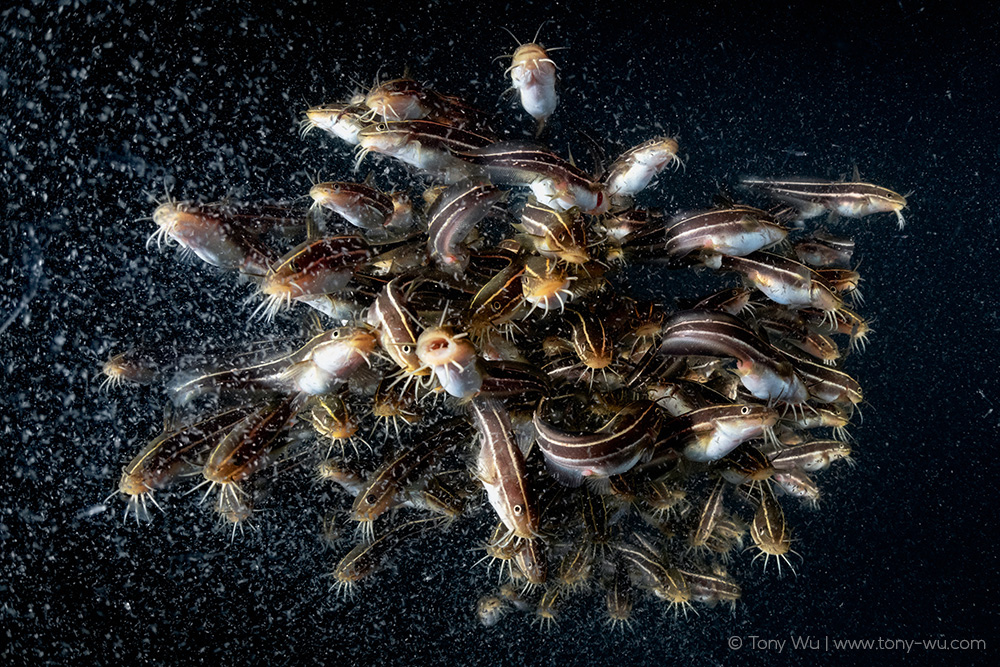
The ability of Plotosus japonicus Japanese striped eel catfishes to sense prey by detecting changes in pH levels
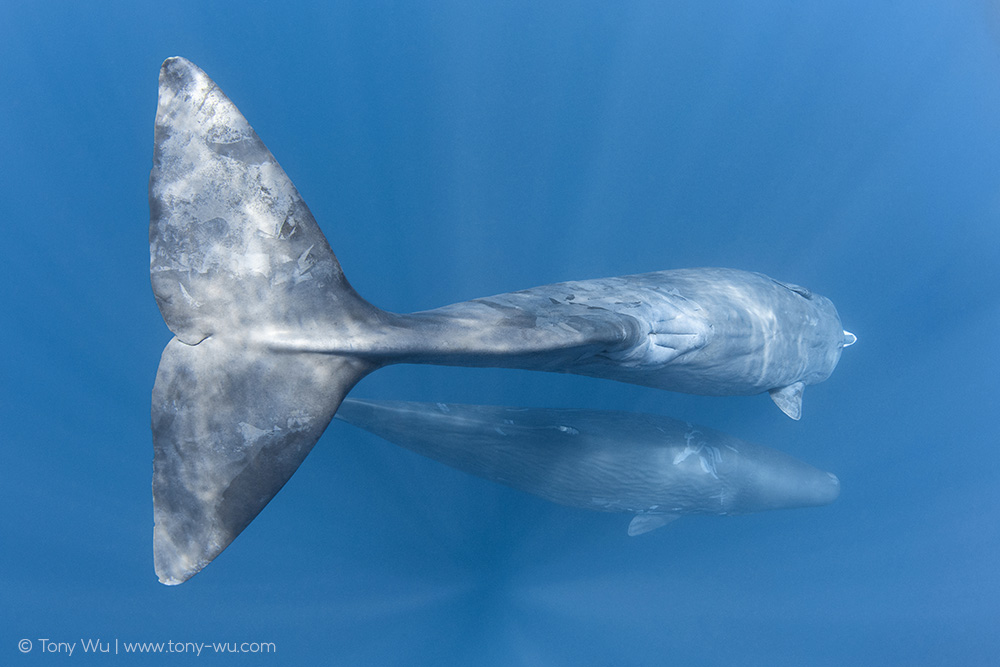
Photographs of sperm whales, humpback whales and a Bryde's whale